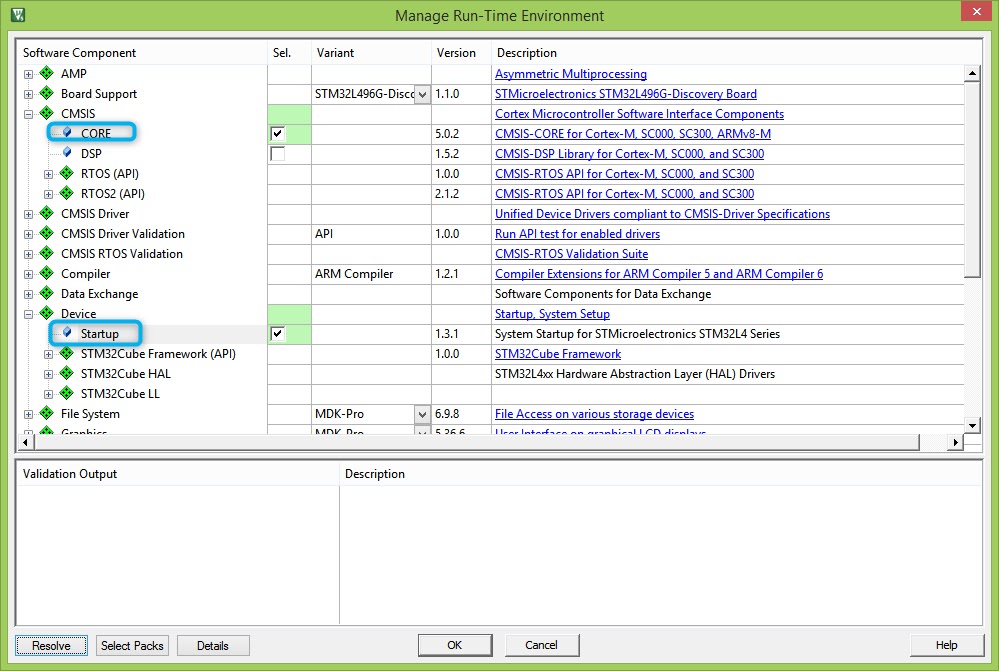
Creating New C file project in Keil 5
I assume that Keil 5 is already installed.
if not download the IDE. It will ask to fillout form. It will take not more than 5 minutes. LEt us jump into 1000ARMS. Below are the steps.
Steps
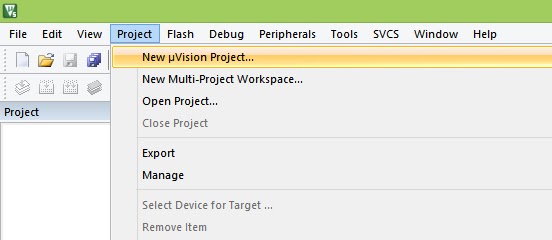 |
| Open Keil Application. Go to Project --> New uVision Project |
 |
| Create a New folder. Let us call the new project as FirstProj. Save it |
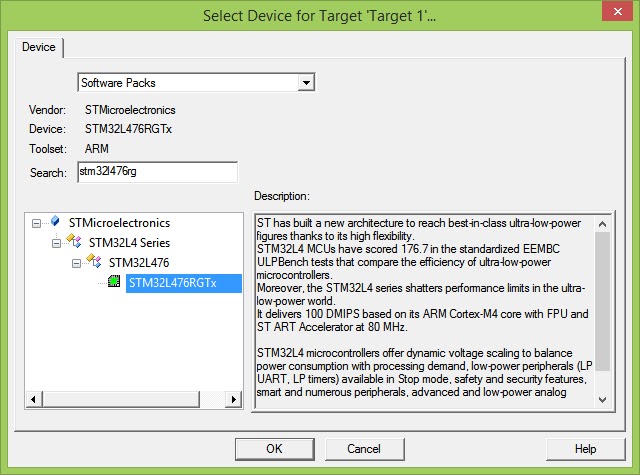 |
| Choose the MCU. Since, it is STM32L4764G on Nucleo board, choose the same |
 |
| Collapse Target 1 |
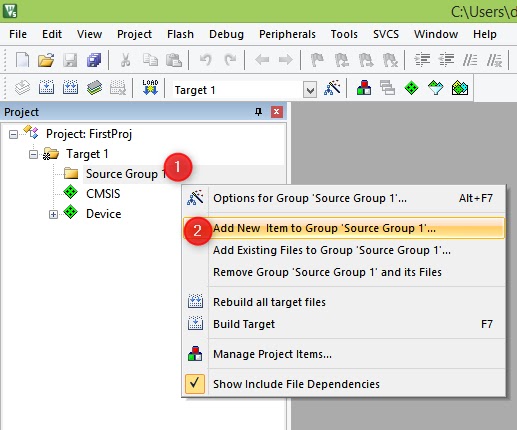 |
| Right Click on Source Group and select Add new item |
 |
| give your C file a name. let us say project.c |
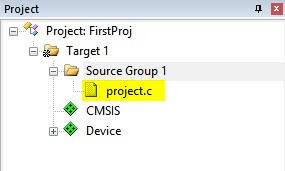 |
| double click the project.c file just added to write some code |
 |
| write some code |
 |
| build the code. No errors :) |
 |
| Let us tell Keil which board we have and settings we wish to use |
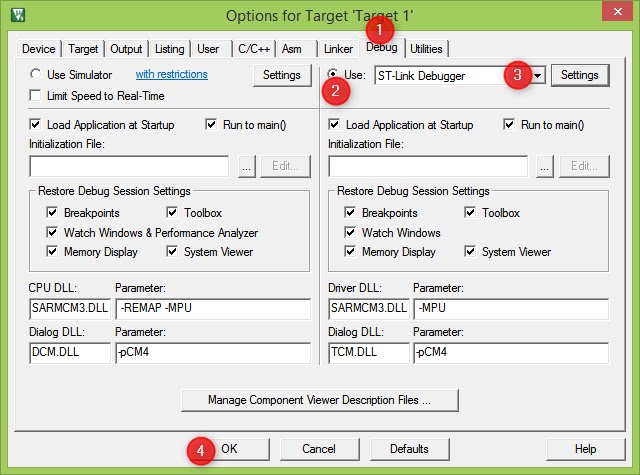 |
| go to Debug, select ST link debugger. ST link debugger is the second MCU on the board close to USB connector, which takes care of programming our actual MCU of interest and also helps in debugging. |
 |
| Just the properties view of ST link programmer we have selected |
 |
| Click on Debug to enter Debug mode. |
 |
| If you are reading this post, probably you will get this too. Ignore. |
 |
| Build output Window. Notice, Erase and programming has happened successfully. |
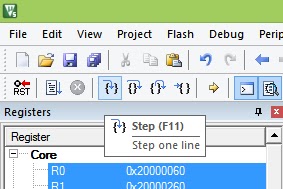 |
| To execute code step by step |
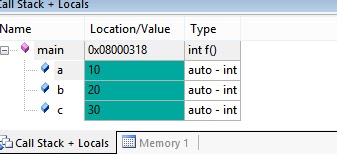 |
| viewing variables just to verify. |
If you are able to program and verify this the code, Congratulations! Please leave comments if you find there is an error on the blog or if you are facing some problem. Do not worry if you did not understand each and every step. I too do not know much. Further posts will gradually help us learn more.
--
This a post which is a part of mission 1000 ARMs which is to empower the author to be able to write 1000 ARM programs
--
This a post which is a part of mission 1000 ARMs which is to empower the author to be able to write 1000 ARM programs
